You’ve finished coating a concrete deck—parking lot or garage, pedestrian walkway, interior floor, or roof. It looks great, you’re happy, the owner is happy, everyone congratulates one another on a job well done.
Until about a month later.
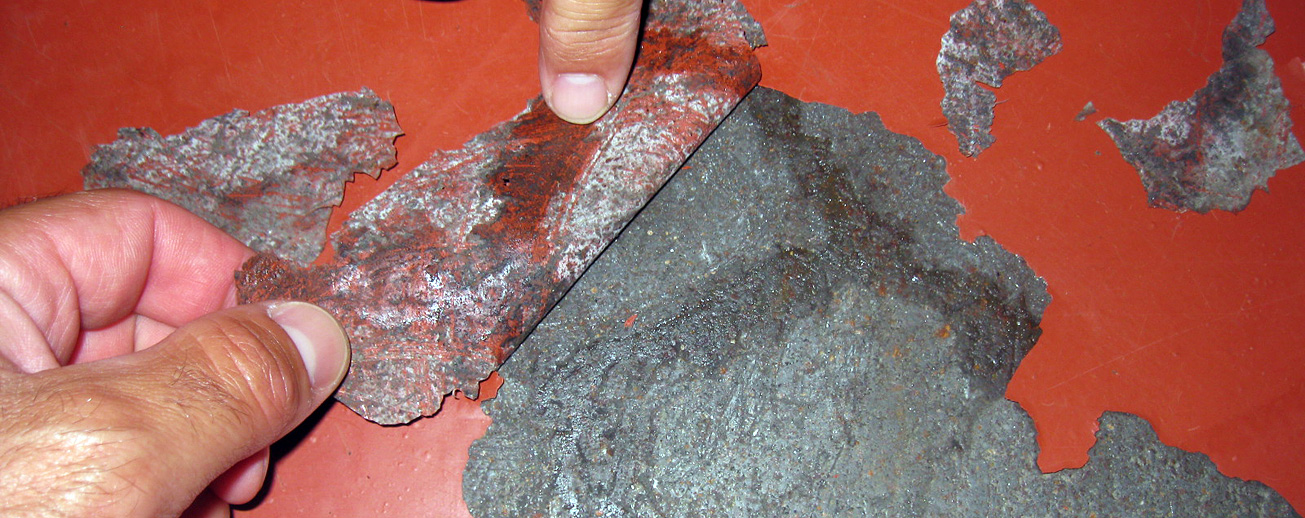
The coating is delaminating and peeling from the surface. Or it’s showing craters, or pinholes, or blisters, or rust is showing from the metal underneath. Now you need to fix the problem, and that’s going to cost you time and money.
What went wrong?
The likely cause of these all-too-common problems is surface preparation. A successful elastomeric coating project requires a clean, dry sound, and secure surface—without it, it won’t last for months or even weeks, much less the years it’s designed to last.
The causes of these problems are many. They fall into a few broad categories:
- Moisture problems
- Surface contaminants
- Improper surface profiles
- Deck repairs not made
Let’s take a closer look at each category.
1. Moisture Problems
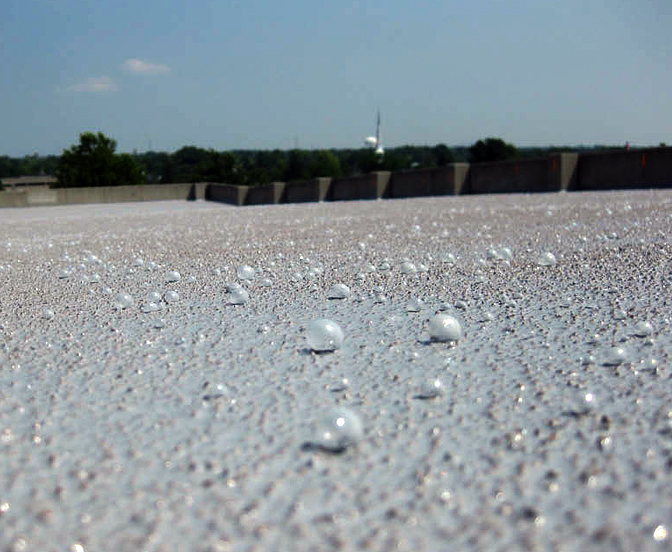
Applying coatings to a deck which is still damp from rain or dew is a recipe for trouble. The water trapped between the surface and the coating with prevent the coating from bonding to the deck, and will eventually cause the following issues—sooner rather than later:
Craters: The water chemically reacts with urethane coatings, leaving crater-like scars on top of the coating. These craters can be clustered together, with a cellular appearance.
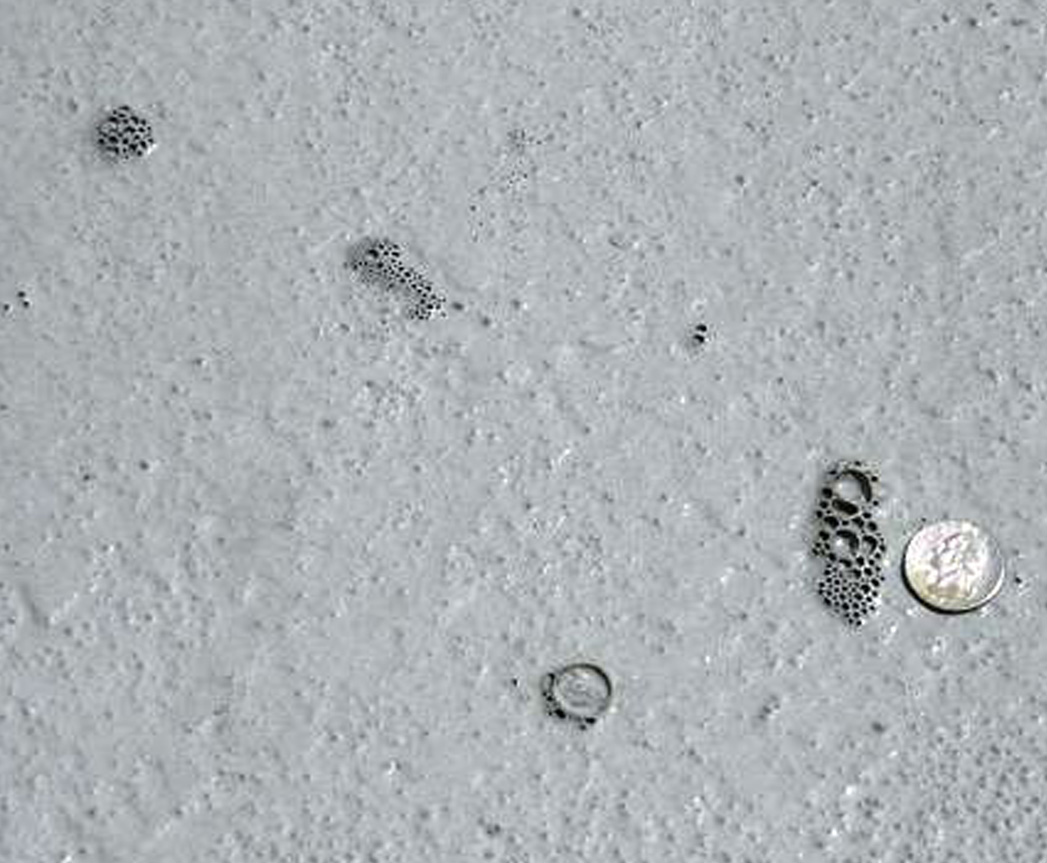
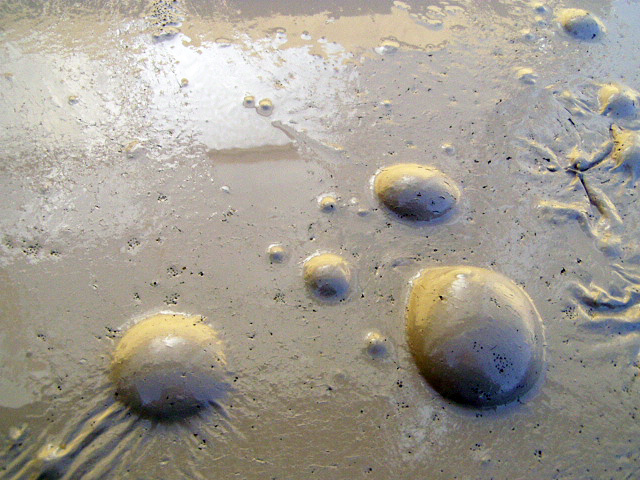
Blisters: These blemishes form for the same reason as craters, but look like bubbles due to the trapped traces of water underneath.
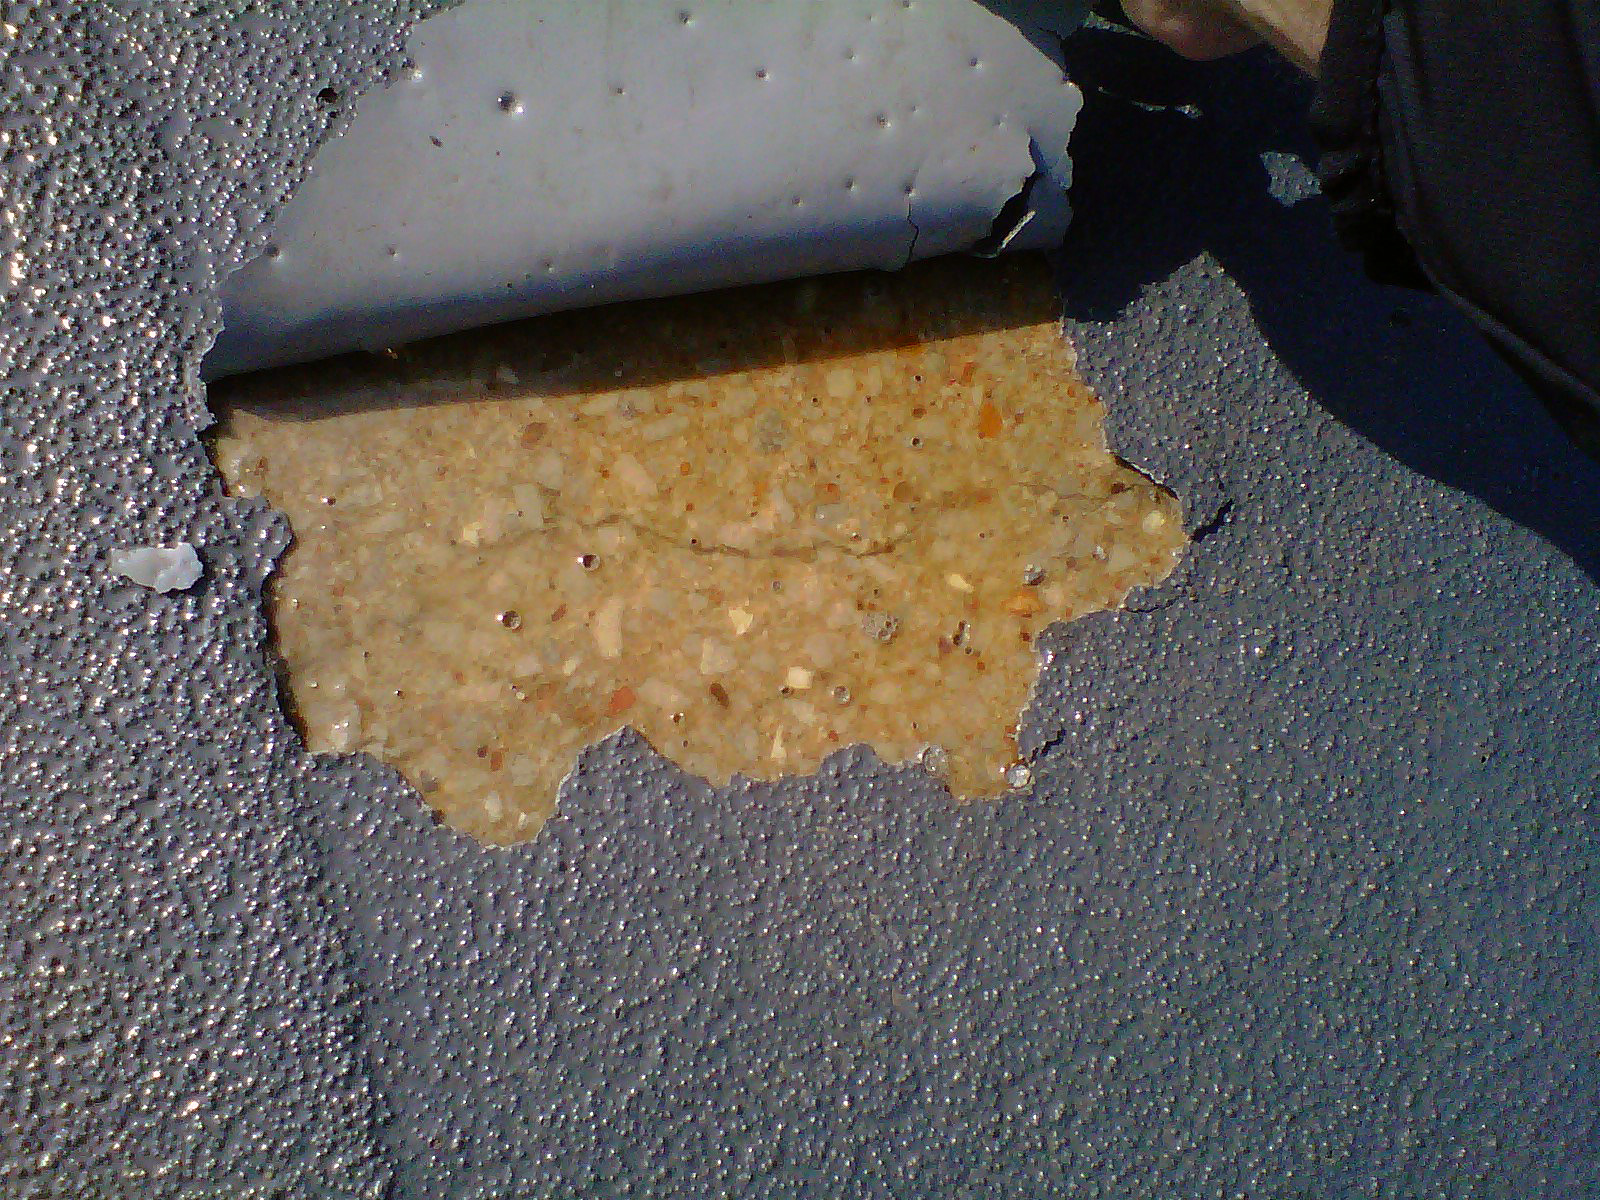
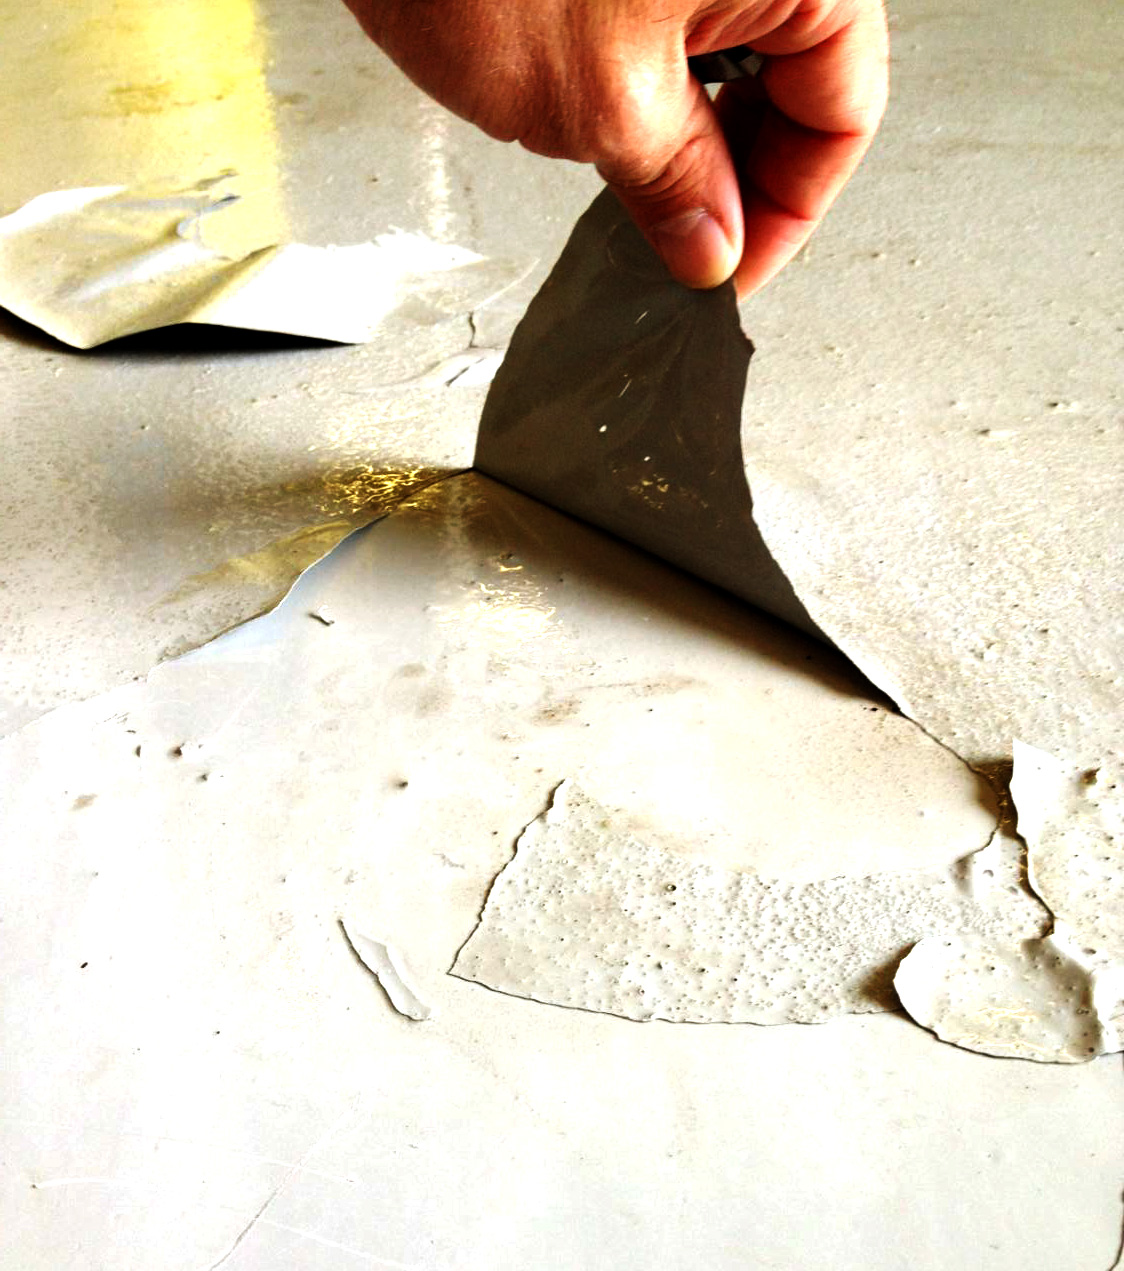
Peeling or Delamination: This can be caused by either water on the deck surface, or by something more insidious—moisture vapor transmission (MVT) from the within the concrete. This is a common problem for slab-on-grade applications, where moisture from the ground underneath the concrete can move through the slab and affect the coating.
How can you prevent these problems? There are three major actions you can take:
First, always make certain that the deck is dry before coating. This seems obvious, but in the rush to complete projects, sometimes the obvious is overlooked. Use fans to dry the deck if necessary (or possible), and protect it against precipitation or dew (again, if possible).
Second, allow a full 28-day cure of the concrete. This will ensure that no water is trapped in the deck, or at a minimum. Water remaining in the concrete will attack fresh coatings via MVT as described above. Again, thanks to pressure to complete a project, allowing the deck to sit for four weeks may not be possible—however, water trapped in the concrete will be a problem.
Third, perform a moisture detection test on the deck. A simple way to check for MVT is the ASTM D4263 test, where a heavy-gauge clear plastic sheet is secured to the deck with duct tape. If water is present in the deck, it will condense on the back side of the plastic. More information on this test and others is available on the Neogard website, in our Application Manuals and Troubleshooting Guide.
2. Surface contaminants
This one is pretty simple: The deck had dust, dirt, or other material on the surface that prevents proper adhesion of the coating. And prevention is just as simple: clean the deck thoroughly before applying the coating.
Yet again, the pressure to complete jobs, stay on schedule, and stay within budget often causes applicators to move a little too quickly. But applying Neogard deck coatings—or anyone’s deck coatings—to a dirty surface will cause delamination of the coating. The contaminants prevent the coating from properly bonding with the deck surface, and it will peel away, usually from the deck itself and possibly between coats.
You should power-wash the deck, not just blow it clean. Blowing always leaves something behind, usually fine dust in the form of laitance. Laitance is an accumulation of particles on the surface of concrete caused by migration of moisture upward through the concrete. Power-washing the deck will remove this fine dust; however, remember to allow the deck to dry before coating.
When coating an older deck, or a new one left for a bit before coating, be sure it is cleaned of any grease, oils, paint, or other difficult-to-clean contaminants. Use a detergent like Neogard 8500 BioDegradable Cleaner to remove those materials and ensure a proper bond.
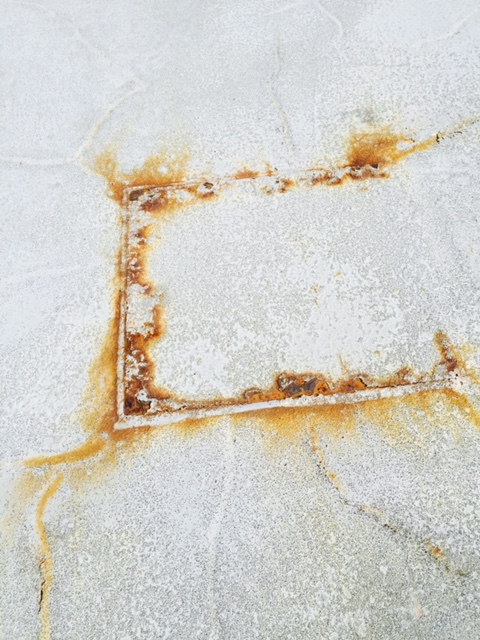
Another source of deck contamination is from shot-blast beads left on the surface. These may not cause delamination, but they can rust and discolor the surface.
3. Improper surface profiles
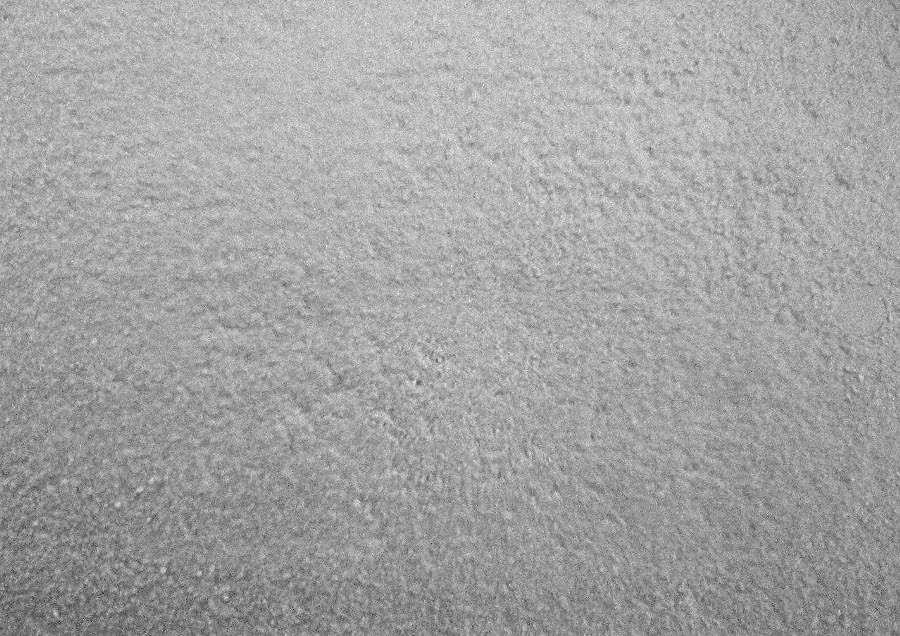
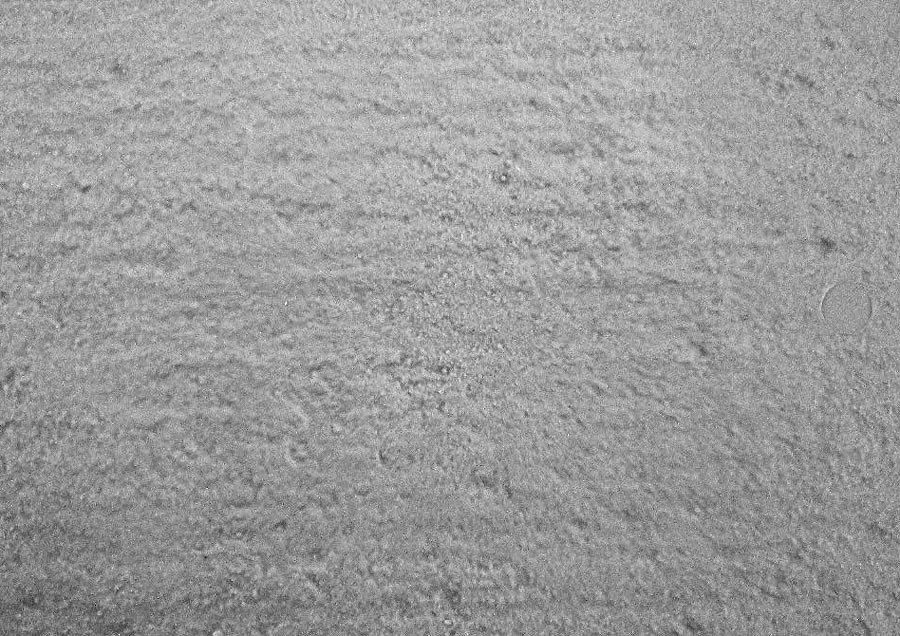
Neogard recommends that concrete decks have an International Concrete Repair Institute (ICRI) Concrete Surface Profile of 3 or 4. CSP3 is a light shot-blast profile, and CSP4 is light scarification. These profiles allow the coating to achieve a strong bond to the concrete.
You must be careful when profiling the deck to make it ready for coating. Our Neogard technical advisors and segment managers identified a number of mistakes contractors make when creating a surface profile on the concrete:
Insufficient profile: The deck hasn’t been properly shot-blasted, or abraded/scarified to a CSP3 or CSP4 profile. Usually this is the result of rushing the shot-blasting process, or by using flat grinding discs which make the surface profile too smooth. The coating can’t bond to the deck properly, and it delaminates.
Rough profile: The opposite of the first problem, this is when the deck surface is too ridged. A rough profile will cause the coating to be short of the specified coverage rate. That will result in a thin membrane, with shorter service life. More coating can be applied to achieve the specified thickness, but applying a coating too thick comes with its own problems.
Too much shot-blasting or scarifying: In addition to creating a profile that’s too rough, over-blasting or scarifying the deck can cause a special problem: the coating will develop tiny blisters or bubbles called pinholes. The concrete develops pores which release excess air and water vapor, creating the pinholes.
Again, to prevent these problems, give the deck a proper CSP3 or CSP4 surface profile. More info is available at the International Concrete Repair Institute website. ICRI also has CSP reference chips, which show the ten CSPs in tactile detail.
4. Deck repairs not made
Properly preparing a concrete deck for coating involves more than shot-blasting or scarifying the surface. You must also repair any defects on that surface. This may not be necessary on a new, smooth deck, but if you’re coating an older deck—or a new one not properly finished—it’s absolutely essential.
Full instructions for remedial concrete construction are available in our Application Manuals, but here are a few important points:
If patching large areas with new concrete, allow those patches to have a full 28-day cure and make certain they have a proper surface profile. Otherwise, the patches will have the same issues discussed above.
Grind off ridges and sharp projections. Smaller pits, holes, and low spots can be filled with Neogard epoxy mixed with sand. Be sure to allow these repairs to cure, and be sure they will allow the coating to properly adhere.

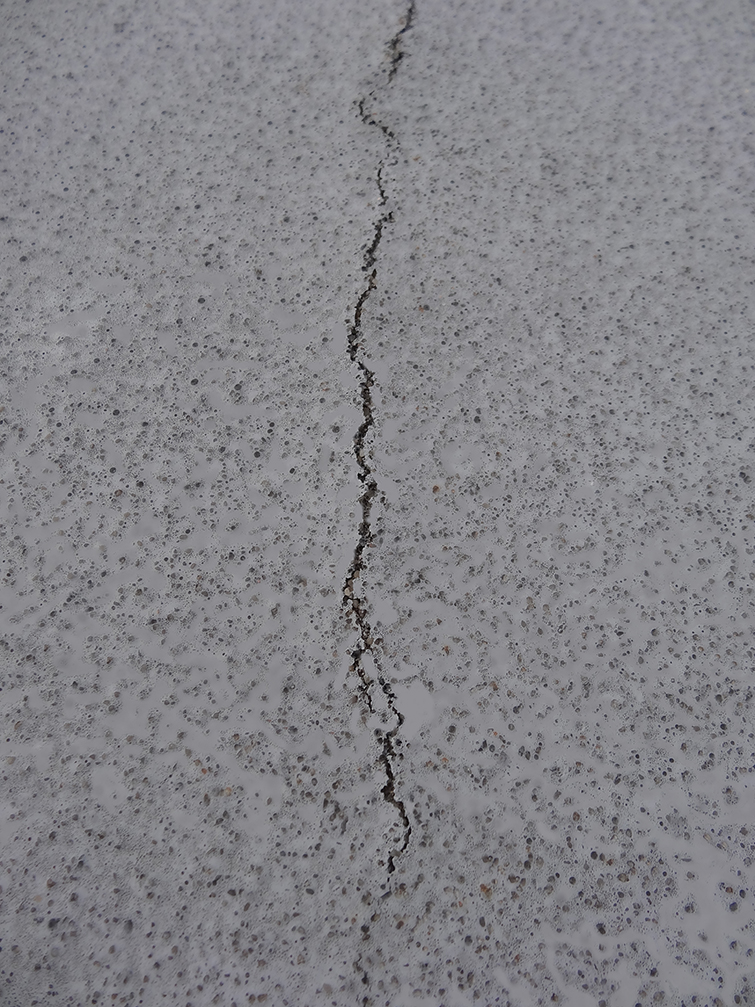
Route and fill small cracks at 1/16” or below with sealant. For larger cracks, consult a manufacturer of expansion joints. Failure to repair cracks will cause cracks to telegraph and appear in the coating.
If you don’t make these repairs, you’re risking the same problems we covered in the section on improper surface profiles. The coating won’t adhere properly, you may end up with a thin coating which doesn’t last, or you’ll apply it too thick to compensate, which has its own problems.
Surface preparation on concrete decks is necessary for a successful coating job. It takes a little work, but it isn’t difficult. Follow the guidelines in our Application Manuals and Guide Specifications, and you’ll have a picture-perfect surface you can be proud of.
In the next installment of this series, we’ll look at surface preparation for roofing substrates.